Pixel Effects
For the past few years, I’ve been bringing home the bacon thanks to my work in visual effects. I’ve been working primarily with high end visual effects packages such as Houdini and Maya, and have been mostly performing lengthy sims, intense geometry manipulation, and shader writing to get those pretty images up on screen. You’d expect that working on a pixel-art game, I’d be leaving the high-end packages alone, right?
Turns out that’s not completely the case! As fate would have it, I managed to win a copy of Houdini Escape back in 2011, and so have the luxury of keeping that tool at my disposal whilst working on Super Hematoma. Unfortuantely, the Escape version of Houdini doesn’t include the full range of simulation tools that it’s bigger brother, Master, uses… but that hasn’t kept me from finding a few ways to make use of it with our game dev.
I’ve only done a handful of the effects so far for Super Hematoma, but here’s a quick look at some of what I’ve been doing.
“Traditional” Pixel Art
I’ve been using a combination of Photoshop and Aseprite for the frame-by-frame, hand-painted pixel-art. This is more like doing classical animation, and is a little more like how things would be done traditionally with pixel-art. Essentially you just draw stuff, and move to the next key frame, and draw it again… once you have your keys, you go on and do in-betweens to smooth stuff out. It’s how I’ve been doing all the character animation, and it’s how I’m doing a lot of the effects in the game. I like Aseprite for doing the character animation cycles… but I’ve actually been using Photoshop for weapons as it’s a little friendlier when doing mock-ups of size/color in relation to the environment and existing character work.


“Non-Traditional” Pixel Art
As I said at the beginning of the post, when I’m not doing things meticulously frame-by frame, I try to make my life easier on myself.


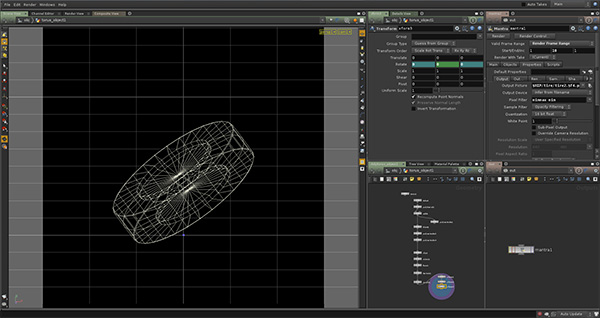
With this tire for example, we decided to give it a print that says “Super Hematoma” so that we can help indicate that it’s rolling when it’s rolling. That was easy enough to do in Photoshop, however when the tire stops rolling and falls over, I wanted it to have the same sort of tumble that a tire would have after bouncing off a wall that it’s rolled into. This means it’s got some rotation through 3D space that could have been easy enough without the yellow text, but with the text would require too much fussing to get right doing it by hand. So that’s where Houdini comes in.

Projecting the painting of the tire onto a rough model, and then animating *that* allows for much easier revision of motion if I don’t like what we have. I haven’t yet seen how it acts in our game engine, so it may go through some refinement yet, but it’s comforting to know that this is something that will take only a few minutes to correct when that time comes.

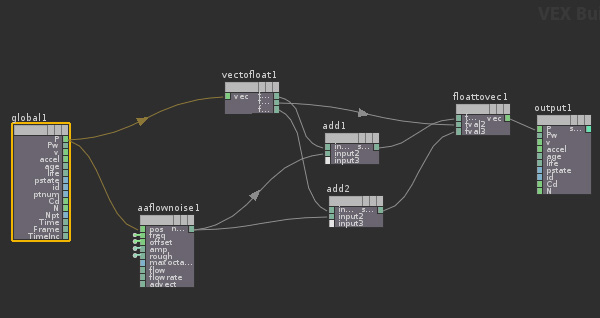
The metal plate in the background of our menu screen? Also Houdini. Primarily because of the ease of refining the pattern to be what I wanted. Houdini’s got a great procedural system to it that makes modelling of stuff like that a snap. It’s also come in handy for me with trying to get wave-motion in the oil sands.


